


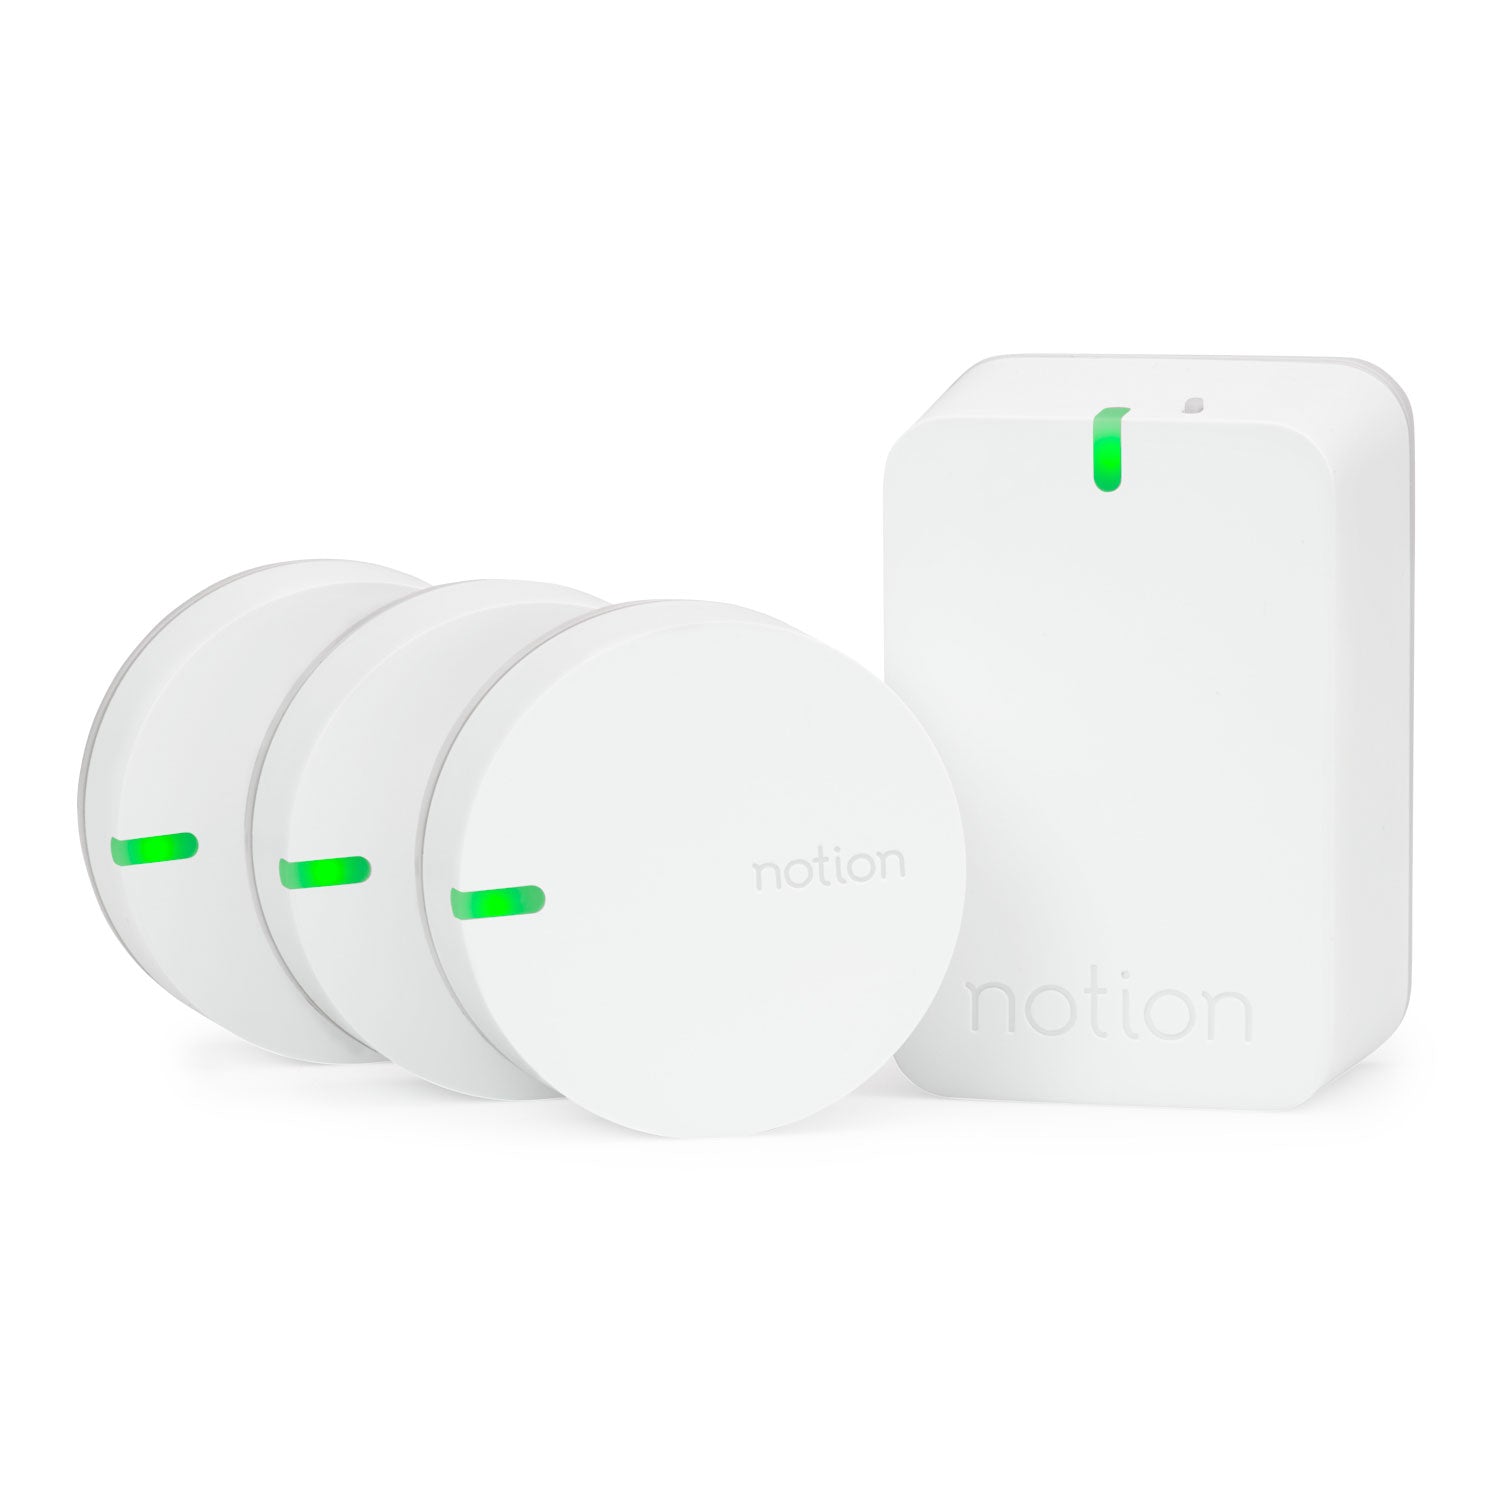
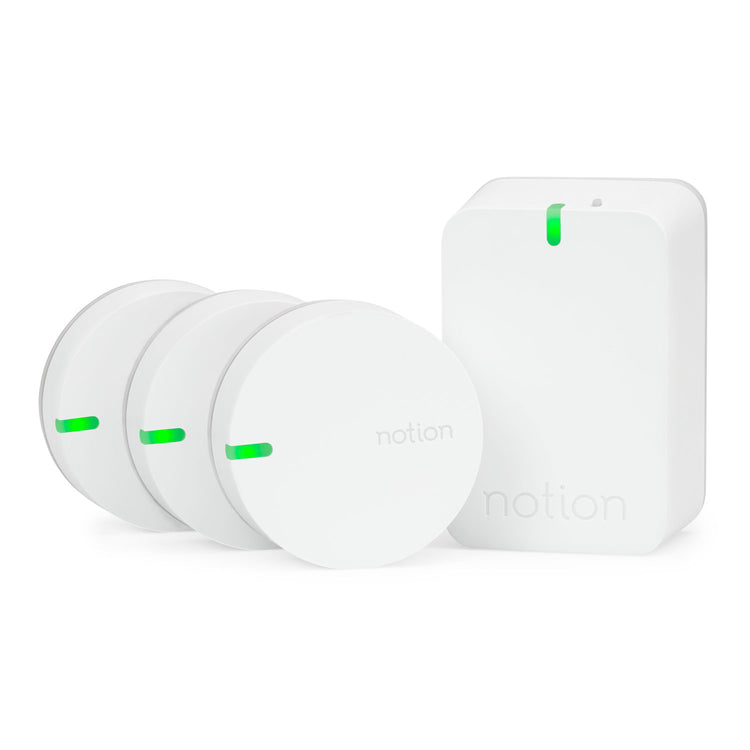
Notion Starter Kit
- Regular price
-
$ 379 - Regular price
-
- Sale price
-
$ 379
Your home is one of your biggest investments, and protecting it from risks is about more than just security monitoring. Notion multipurpose sensors monitor high-risk locations like water heaters, washing machines, doors, windows, and more. Notion Sensors ensure peace of mind with just a tap:
- Peace of mind: The #1 thing our customers love about Notion is the peace of mind it gives them. Read our reviews here.
- Save money: Save 5-10% on your insurance premium by using Notion. Learn more here.
- Flexible approach: Our unique multifunctional sensor provides a multipurpose approach that enables you to use one device for multipe home-based risks.
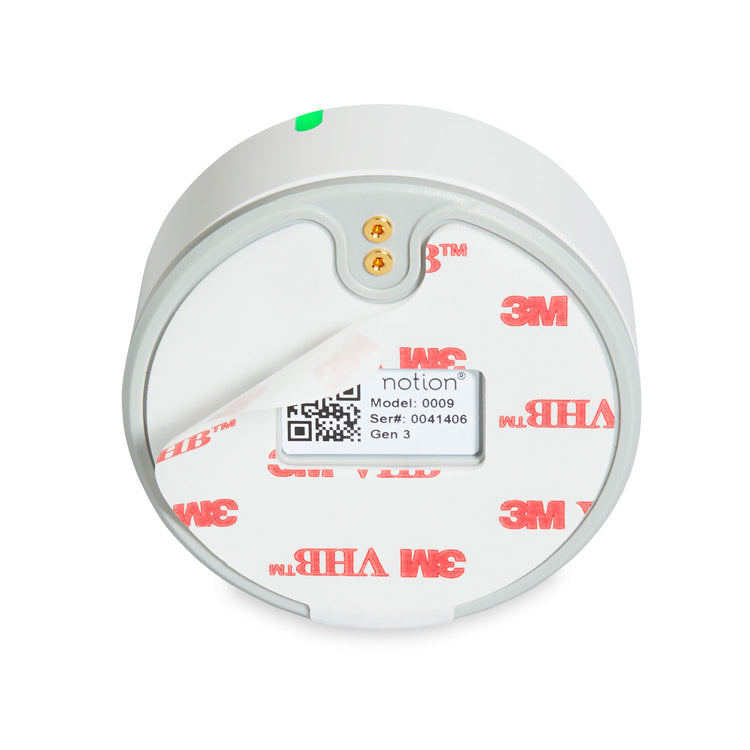
- Simple setup: Set Notion up by yourself, with peel-and-stick sensors you can get up and running in under 15 minutes.
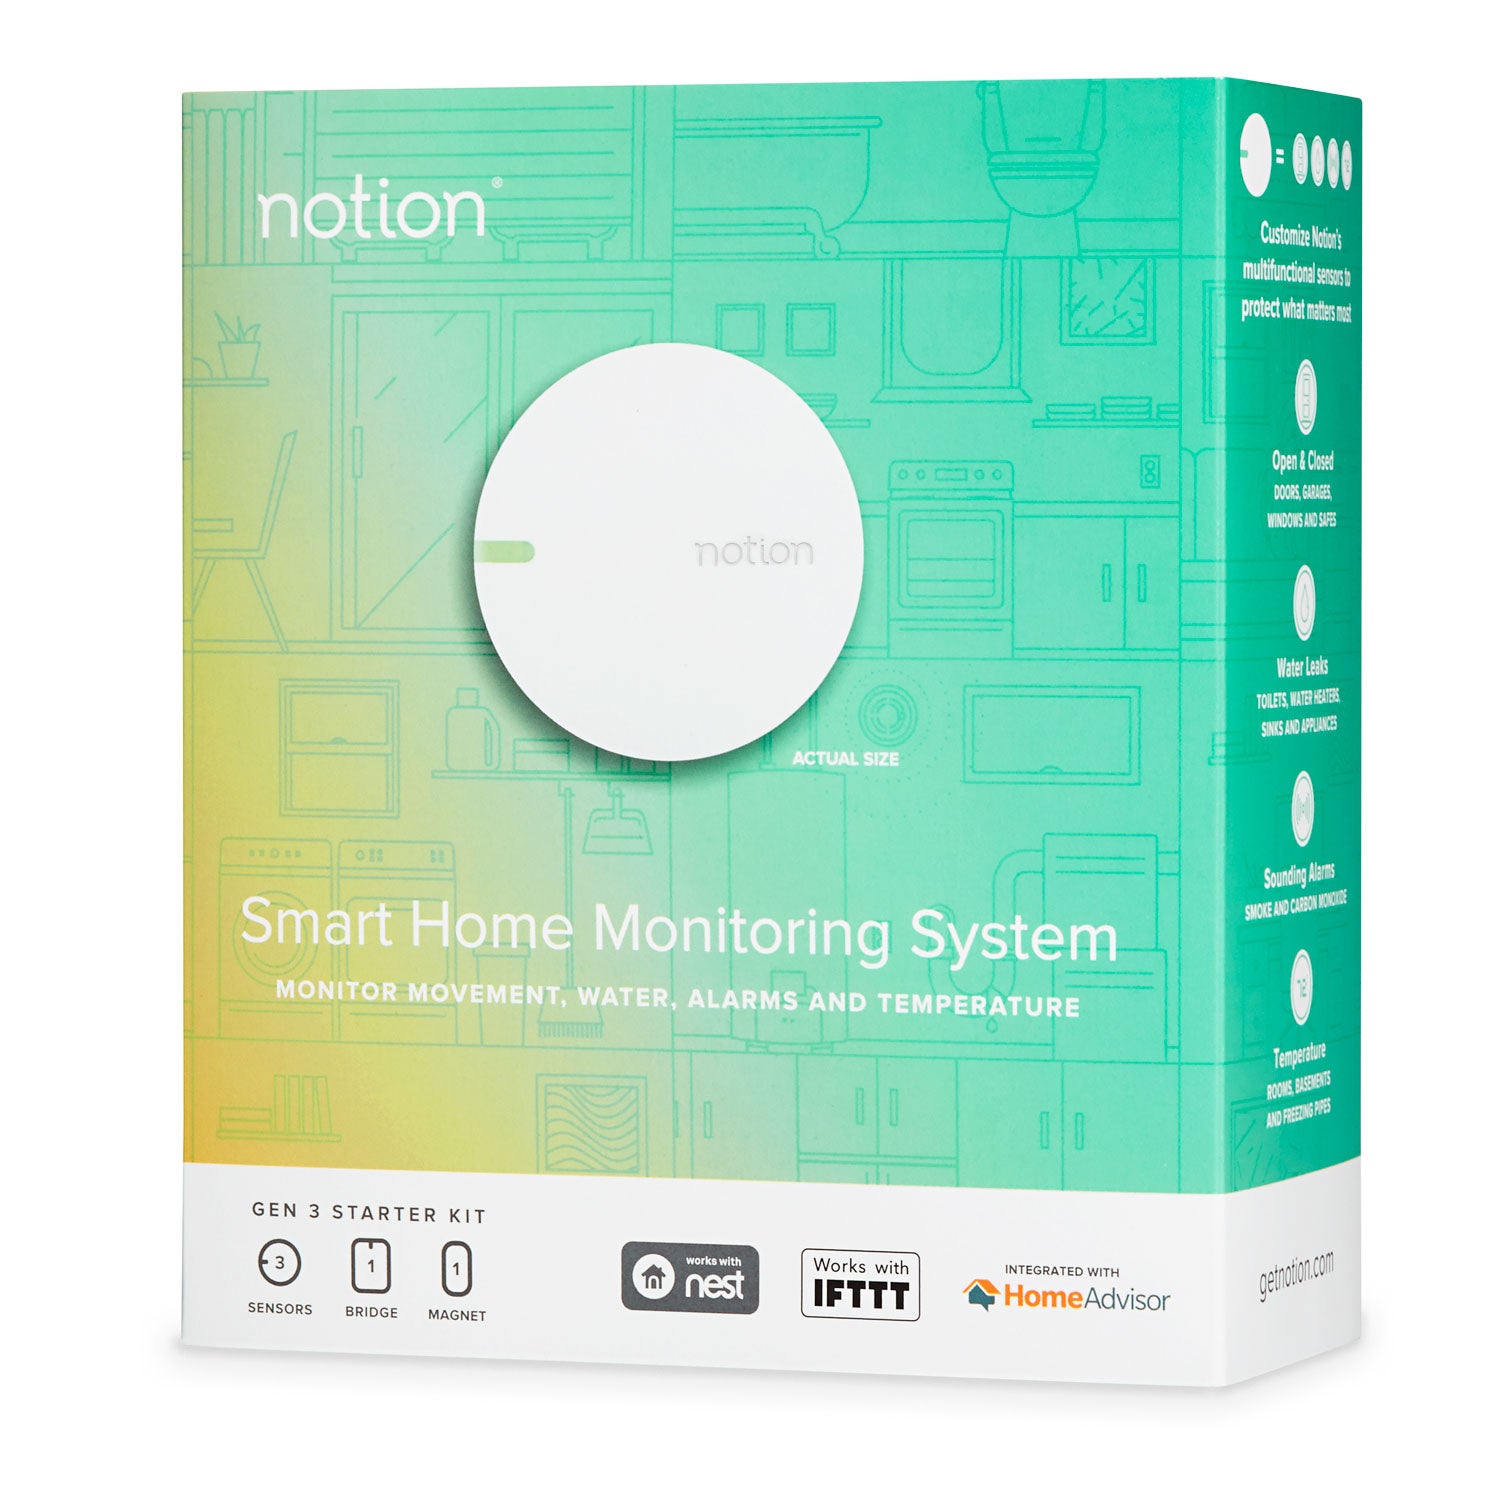
- Holistic home monitoring: Protecting your home is about more than just monitoring doors. Monitor for home risks like water leaks, temperature, opening doors/windows, and sounding smoke/carbon monoxide alarms.
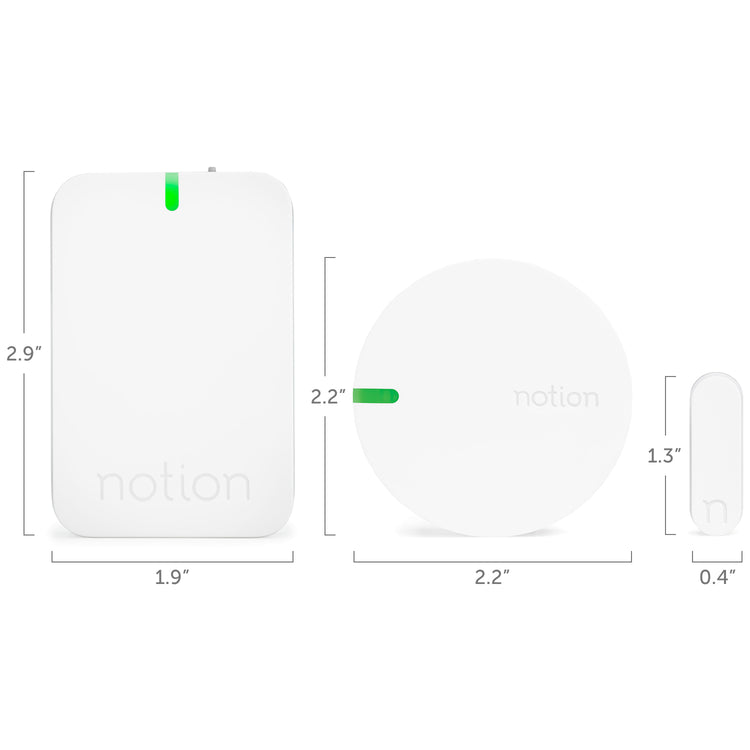
Tech Specs & Compatibility
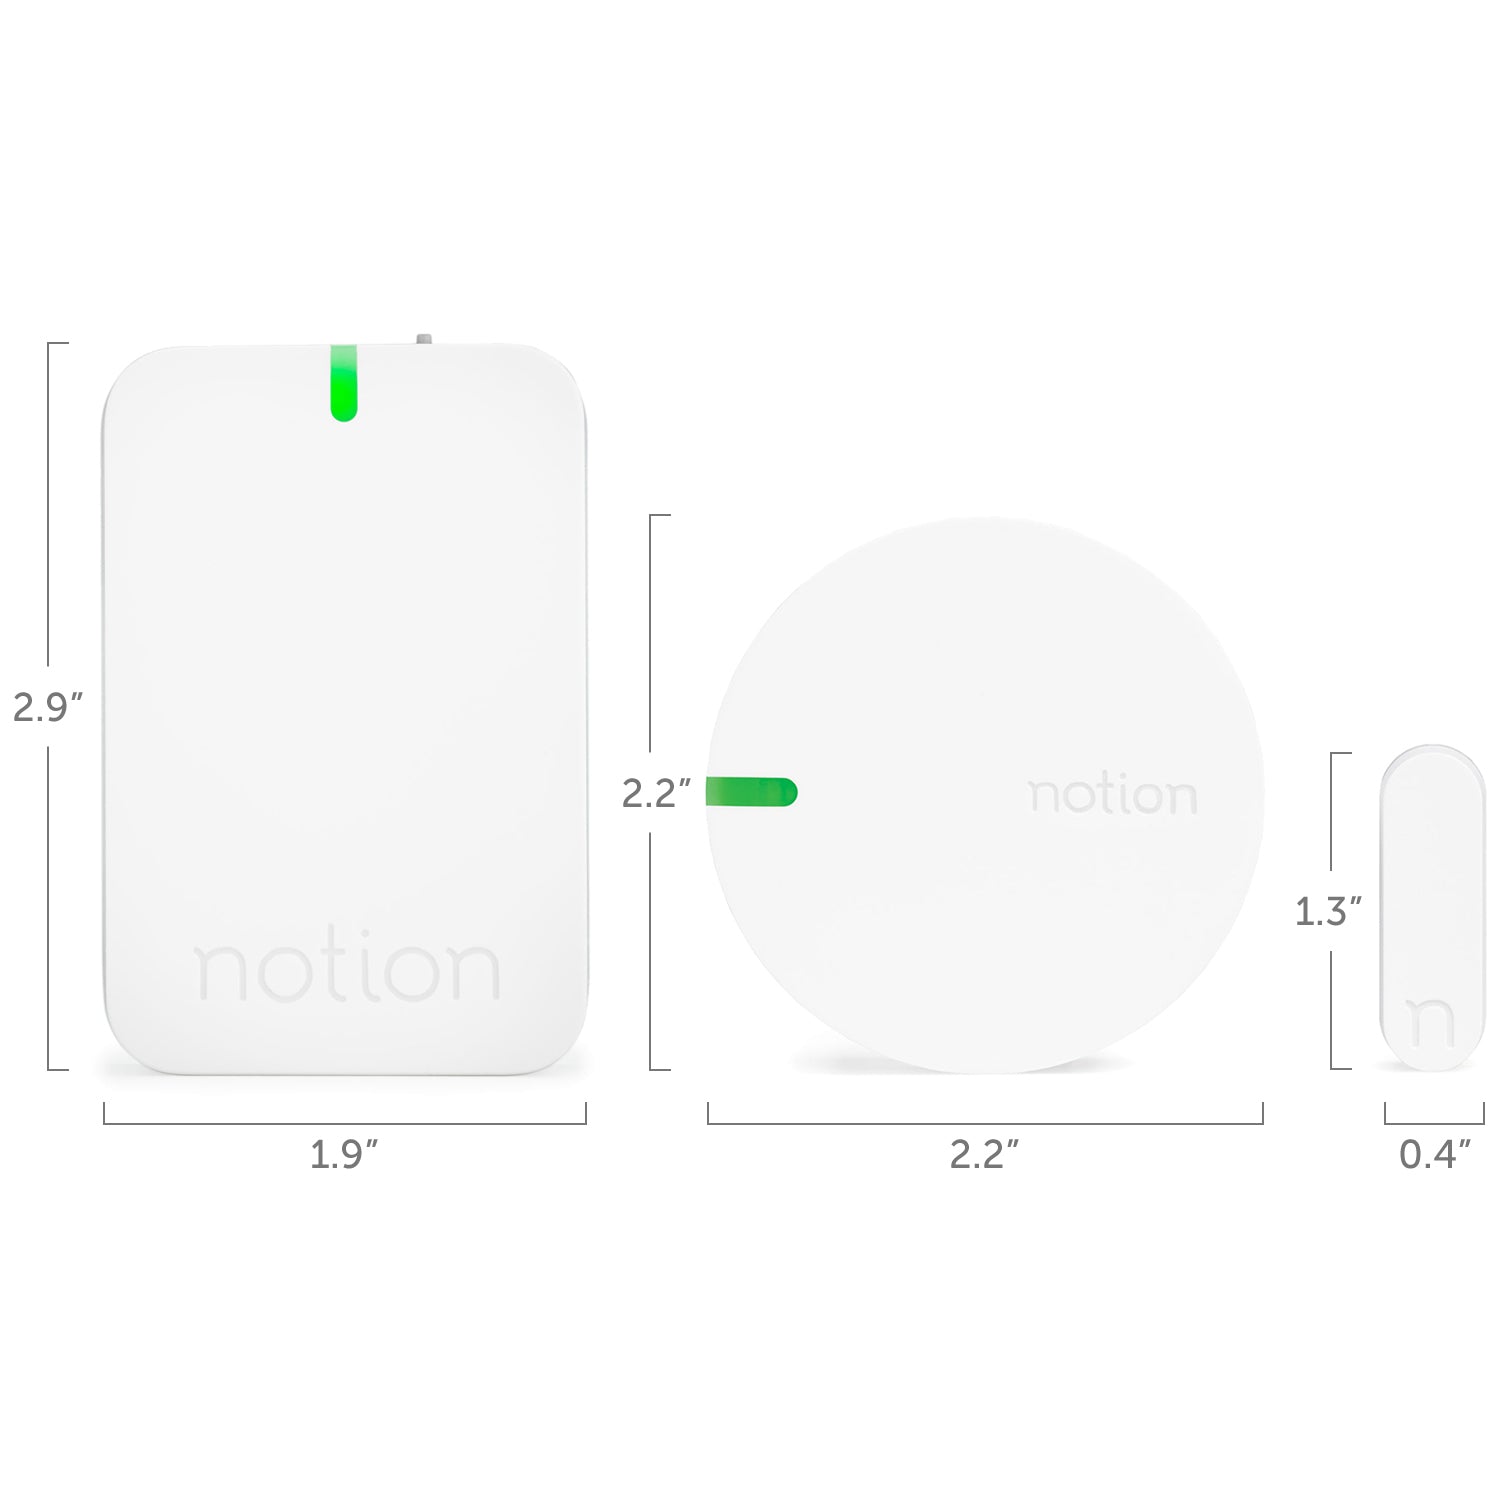
What's Included
What You Need to Get Started
Shipping & Returns
Couldn't load pickup availability


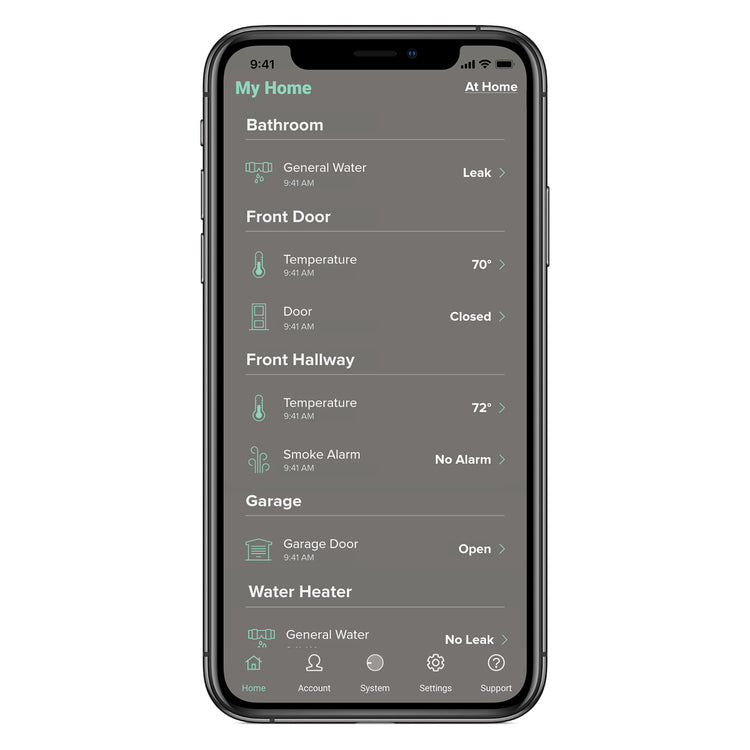

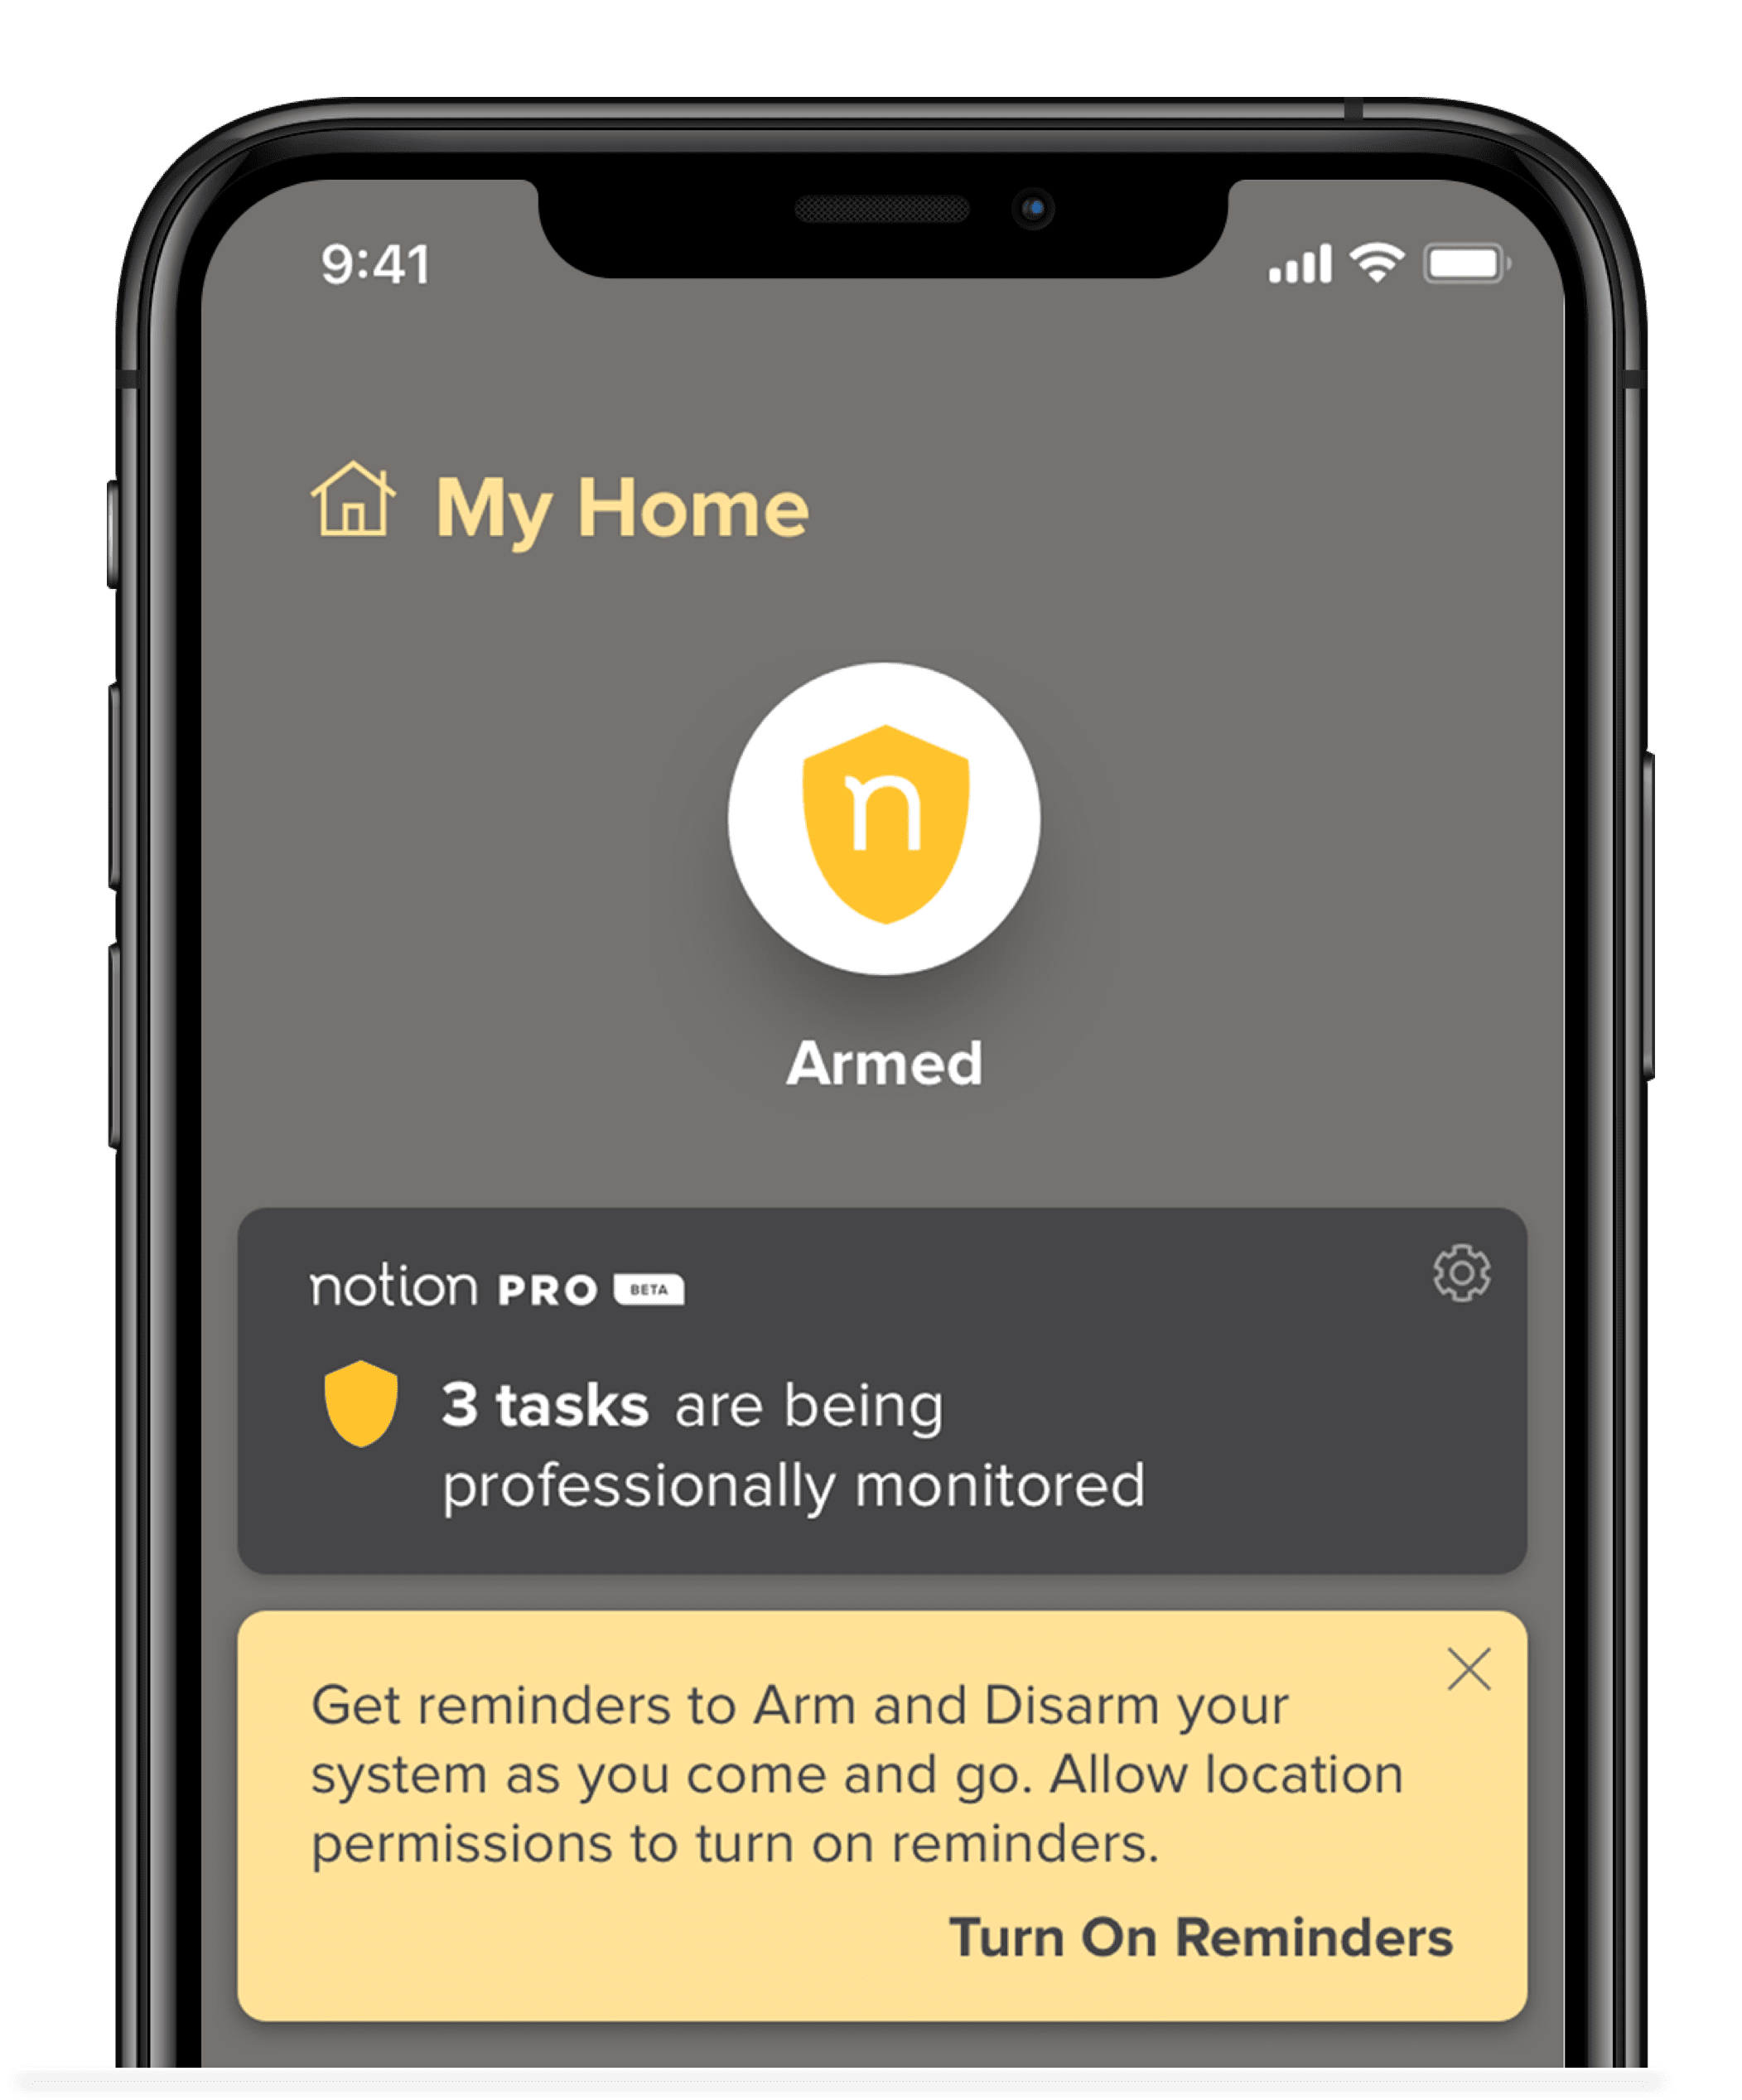
Go PRO and Don’t Miss a Notification Again
Notion’s professional monitoring system provides 24/7 information about your home risks. Critical/Urgent alerts, text messages and phone calls help you take action to secure your home.

Reviews
CharleneThe system is really user-friendly.
I really like the security features available with no contract necessary. On top of all that, the possibility of savings on my homeowners insurance is certainly appealing!
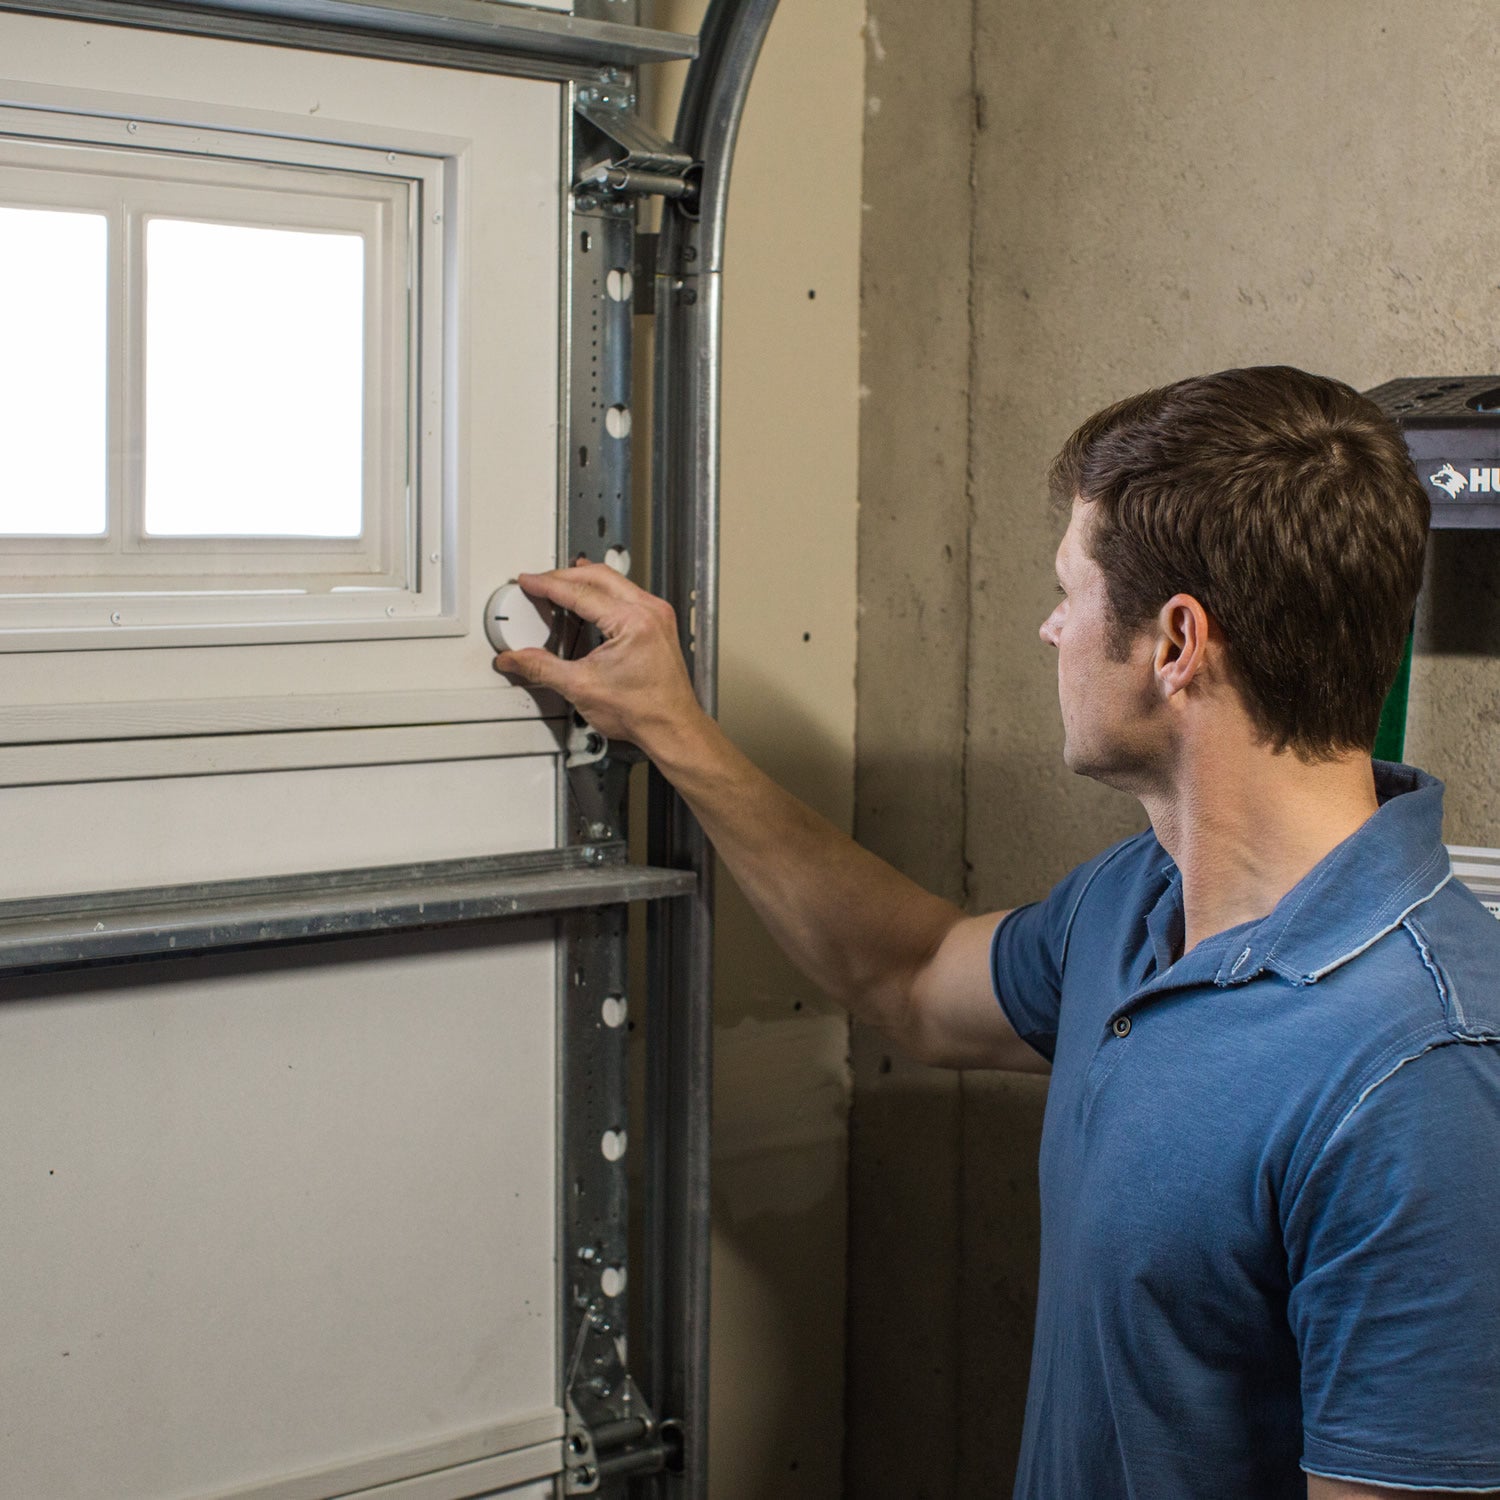
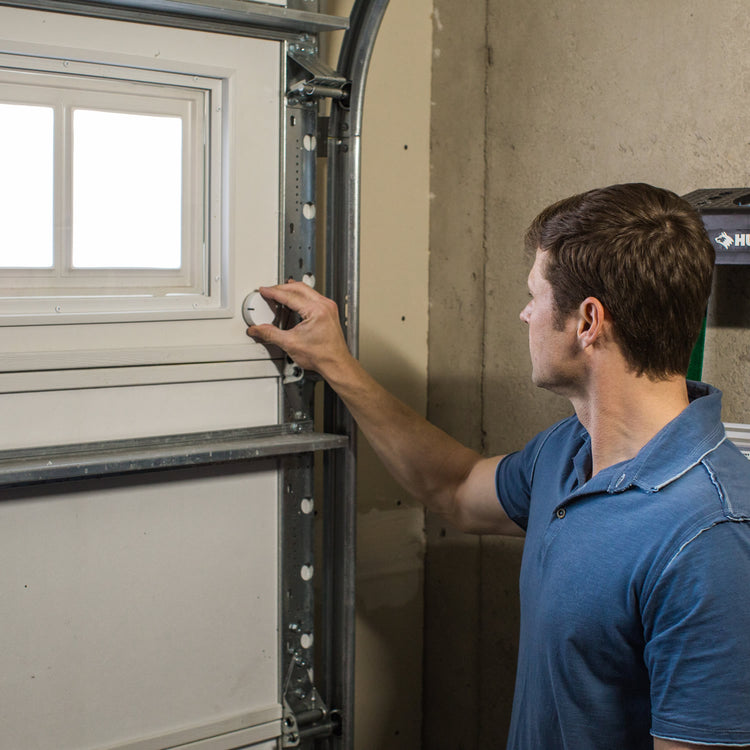
AndrewI like how the app lets you know if your garage door is open or closed.
I plan on getting more Notion Sensors -- they work great for me.
Smarten Up Your Home With Notion
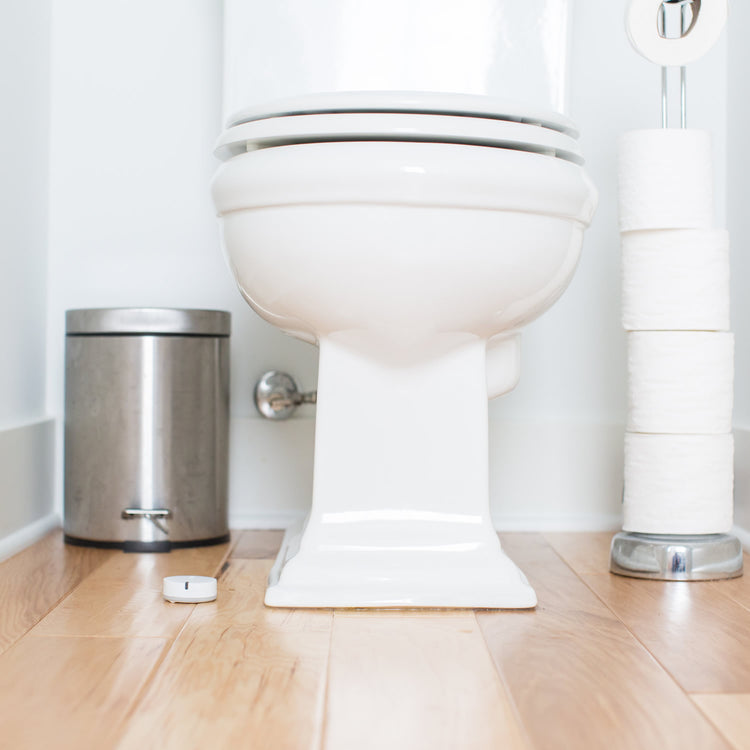
Place our sensors anywhere in your home that you deem risky. Customers typically place water leak sensors in high-risk areas like laundry rooms, as well as by smoke alarms and entry doors.

Sounding Alarms
Receive a notification when your UL-listed smoke or carbon monoxide alarm sounds.
Temperature Readings
Be alerted when the temperature of a room gets too hot or too cold
Window Alerts
Potentially save on your energy bill and easily check if your windows are open.
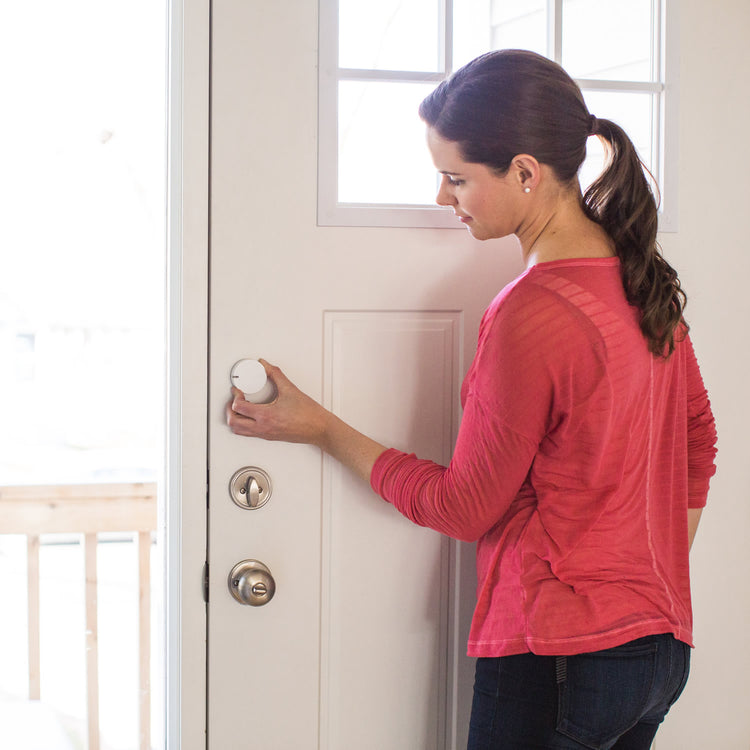
Doors
Know when your doors, sliding doors, garage, cabinets or safes are opened.
Add-ons to Enhance Your Kit
-
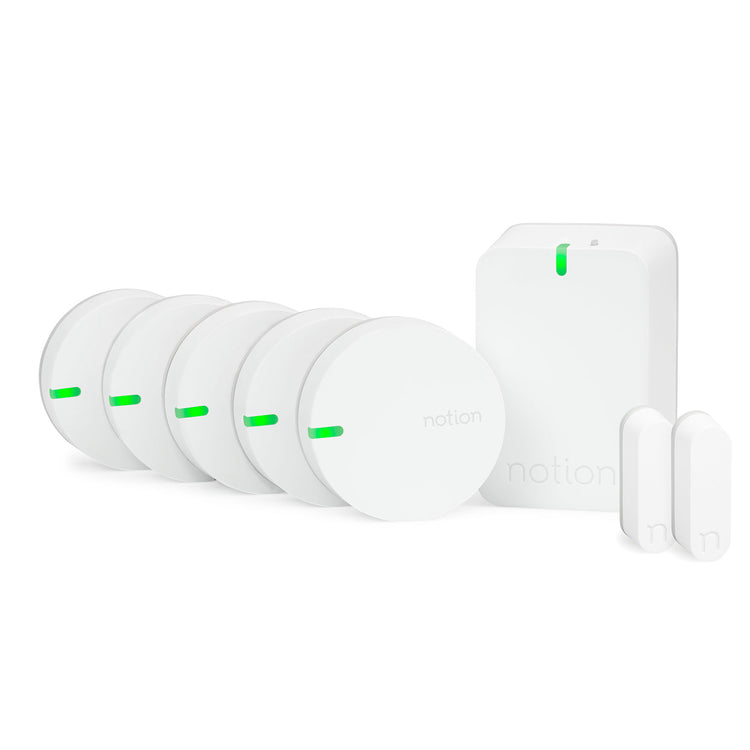
Notion Expansion Kit
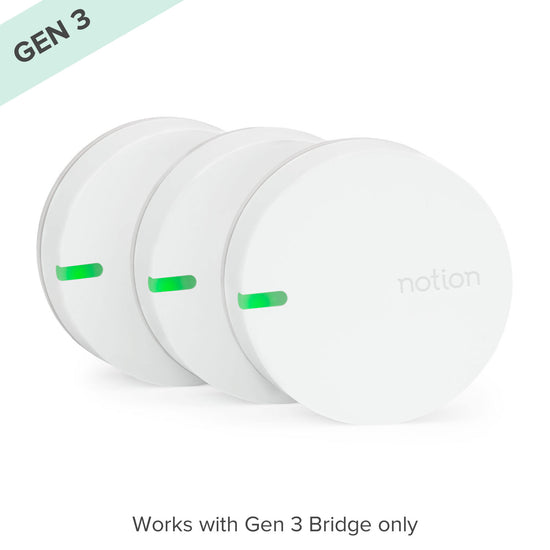 Notion Expansion Kit
- Regular price
-
$ 49 $ 219 - Regular price
-
- Sale price
-
$ 49 $ 219
Quick view


FAQs + Troubleshooting Assistance
Where Should I Place My Sensors?
The options are limitless! Some customer favorites include water heaters, entry doors, garage doors, cabinets or safes, under sinks, washing machines and near smoke and CO2 alarms. Most important might be in areas where water could leak (80% of water damage is caused by appliances like toilets, washing machines, water heaters, etc.). For more inspiration, visit our Solutions Guide.
Bridge Not Found?
1. Is your bridge plugged in and flashing blue? If it's green, we'll need to reset the bridge.
2. Did you plug your bridge in within the last 30 minutes? A bridge is only searchable within 30 minutes of being plugged in. If it's been over a half hour since you plugged in the bridge, please unplug it and replug it back in before trying again.
3. How close is your bridge to your router? During the initial pairing, it may help to move the bridge to a room closer to your router.
4. Are location services turn on for the mobile device you're using? We need your home location during bridge setup so we can let you know when events happen when you're home or away. Please visit your phone settings and ensure location is turned on.
My Sensor Won't Wake Up.
1. The sensor will have a green, plastic battery tab that prevents the batteries from powering the sensor. Make sure that it is fully removed before setting up your sensor.
2. When your sensor is awake, it will blink green. (What do the sensor LED's mean?)
3. If you’re still having trouble, try cycling the batteries.
4. Twist the white body of the sensor counter-clockwise to separate it from the gray baseplate.
5. Remove the batteries and reinstall them
6. When the batteries are reinstalled, look for the sensor LED light to flash.
My Sensor Won't Calibrate.
After you've scanned your sensor and chosen your preferred location and tasks, the sensor will need to calibrate. At this point a lot of information is passed back and forth between the sensor and bridge. If the sensor is not calibrated then you might miss out on important notifications about your home. Try a few steps below to make sure your sensor calibrates correctly:
1. Make sure the sensor was not mistakenly added to your account. Click the System icon in the app and navigate to the Sensors tab. Check to see if the sensor is listed there. If it is, click it, scroll to the bottom and tap "delete sensor" and try the sensor installation process again.
2. Make sure the sensor is awake during calibration. Try the steps above to wake up your sensor and make sure you saw a green LED.
3. Move your bridge closer to the sensor and try calibrating again. You can move your bridge back after the sensor is calibrated.
4. Make sure your sensor is not blocked by anything that might cause interference during installation. This could include physical obstructions as well as other electronic devices that emit radio signals.
Don't See Your Question?
Don't see what you need here? Click below to visit our help center.